
Chat Overview
The Chat tool allows you to communicate with class members synchronously (at the same time) in D2L. Chat sessions can be found through Collaboration > Chat.
- Click Collaboration on the Navbar and select Chat.
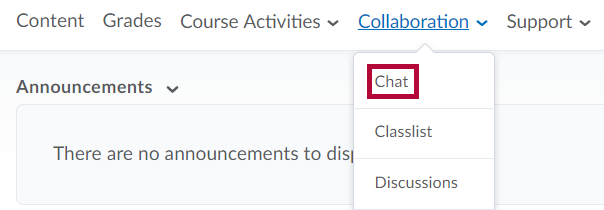
- Under the General Chat section, the specific Chat session will be listed.
- Click on the title to join the Chat session.
The Chat session will display. A list of chat participants will appear on the left-side of the screen.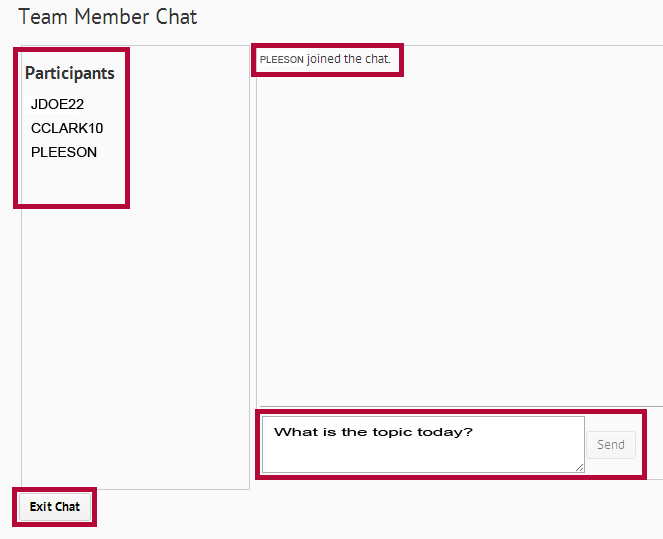
- To respond to a question or to ask a question, just type your question/response in the response box to the left of the Send button and press Enter or click Send.
- When you are ready to leave the Chat Session, Click the Exit Chat button.


Create a personal chat
You can create personal chats to talk with class members. You can create personal chats from any course, and you can access them within any other courses.
Personal chat rooms can only be accessed by participants who have been added to the personal chat’s Participant List. When participants are added, the chat room displays under Personal Chats in their list of chats.
- Click Collaboration on the Navbar and select Chat.
- On the Chat List page, click New Chat.
- Enter a title.
- Click Personal Chat.
- Enter a description of the chat. Give your chat a unique, descriptive name and provide a description for it using the Description field to help participants distinguish the chat from other chats they are enrolled in.
- Click Create.
Change your chat settings
- Click Collaboration on the Navbar and select Chat.
- Do one of the following:
- In the upper right corner of the Chat List page, click
 Settings.
 - Inside a chat, click Settings.
- In the upper right corner of the Chat List page, click
- In the Alias field, enter a new alias. Depending on your permissions, you can change your alias, or chat name, if you want to appear as a different name, such as a nickname, to other chat participants.
- Select the check boxes for Bold or Italics.
- Set an Alias Color.
- If you want to change the message order, select New to Old or Old to New. If you want to see new messages only, select New Messages.
This requires you to manually refresh the screen, to see new messages and remove all old ones. You can change back to see all messages, which restores all messages for that session, even if they were not visible while New Messages was selected. - You can change your sound settings so you can hear a sound when someone enters the chat, leaves the chat, or when there is an incoming message. Select a sound from the following drop-down lists:
- Incoming Message Sound
- Person Enters Chat Sound
- Person Leaves Chat Sound
- Click Save.
Manage chat history
The chat’s archive stores each chat session, where you can view it at a later time.
The system archives a chat session once all chat members leave the room or after more than 20 minutes of inactivity. Chats appear in the Chat Sessions list.
- Click Collaboration on the Navbar and select Chat.
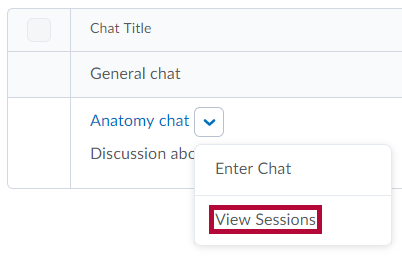
- On the Chat List page, from the context menu beside the chat you want to view, click View Sessions.
- In the Start Date column, click the link.
- When you are done reviewing the session, click Done.

Add or remove users from a chat
- Click Collaboration on the Navbar and select Chat.
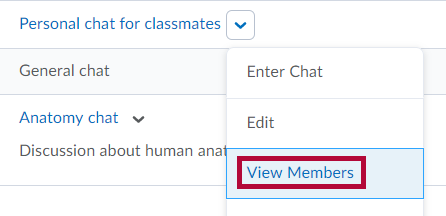
- On the Chat List page, from the dropdown menu of the personal chat you want to modify, click View Members.
- Do one of the following:

- To add a member to the chat
- Click Add Members.
- Select the checkbox beside the name of users you want to add.
- Click Add > Done.
- To add a personal contact:
- Click Add Personal Contact.
- Select the checkbox beside the name of users you want to add.
- Click Add > Done.
- To delete a member of the chat
- On the Chat Members page, select the check box beside the users you want to remove.
- Click Delete > Done.