NOTE: Please visit the Microsoft 365 FAQs page for more info.
The Microsoft 365 Widget provides students with convenient access to their Student Email through Microsoft 365 from within D2L.
Access the Microsoft 365 Widget from the Homepage
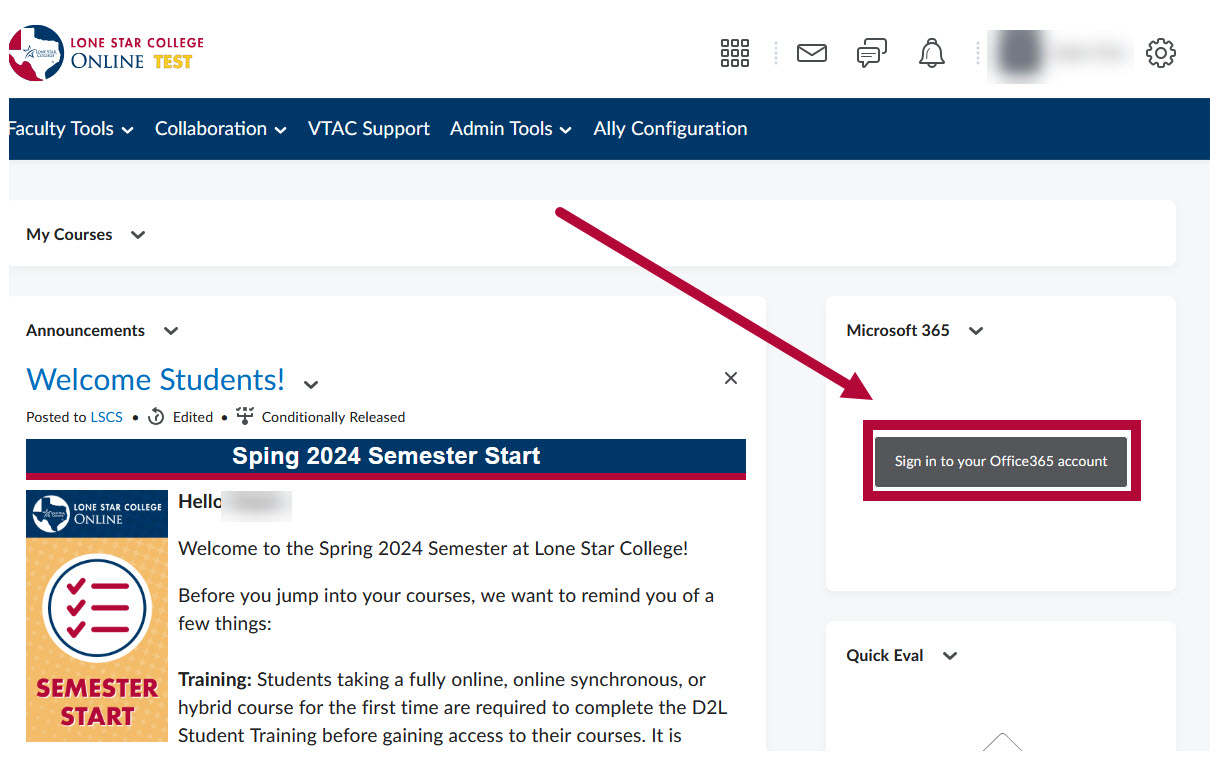
- On the D2L Homepage, the Microsoft 365 Widget will be located on the right of the page. Click on the grey [Sign in to your Office 365 account] button.
NOTE: If you are accessing the widget for the first time, and you are receiving an Internal Error here, be sure to be logged into your LSC Outlook account on the same browser. This will pair the widget with your course, and will only need to be done once.
- Once signed in, you will see the following window. Click on the [Downward Arrow] to expand the widget.

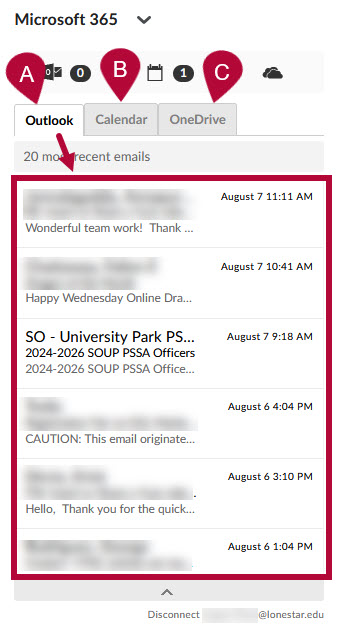
- With the widget expanded, you'll see a preview of your Outlook recent emails. Clicking on the icons here will open up the corresponding Outlook webpage in a new tab. The marked icons are:
- [Outlook]
- [Calendar]
- [OneDrive]
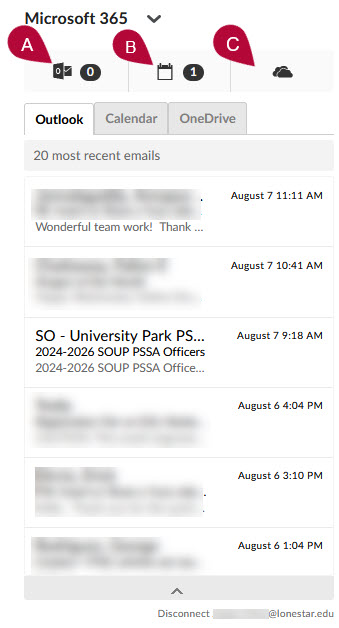
- Clicking on the A) [Outlook] B) [Calendar] C) [OneDrive] tabs will alter the contents of the widget itself.